Looking to set up a WordPress site on your Virtualmin-managed VPS or dedicated server? This guide walks you through the complete process of installing WordPress on a Virtualmin server running Apache, PHP, and MySQL/MariaDB.
Whether you’re hosting multiple domains or running a single site, Virtualmin makes server management easier — and installing WordPress is straightforward once you know the steps.
✅ Requirements Before You Start
Make sure you have the following ready:
- A Virtualmin server (VPS or dedicated)
- Apache, PHP, and MySQL/MariaDB installed
- A registered domain pointed to the server
- Root or sudo SSH access
Need a reliable VPS or dedicated server?
👉 Check out high-performance hosting from Servers9
🔧 Step 1: Create a New Virtual Server
- Log in to Virtualmin at
https://your-server-ip:10000 - Go to Create Virtual Server
- Fill out:
- Domain Name
- Admin Password
- Under Enabled features, make sure:
Apache webserverMySQL databasePHP(FPM preferred) are checked
- Click Create Server
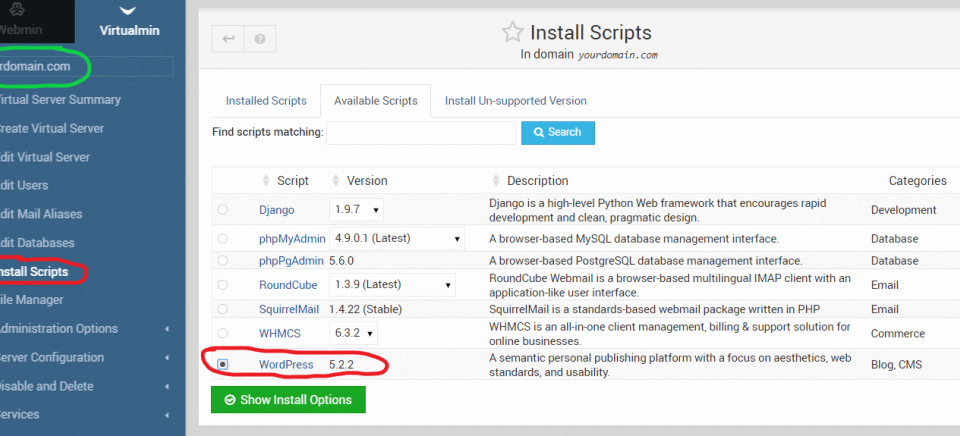
🔧 Step 2: Download WordPress
SSH into your server and run:
cd /home/yourdomain/public_html
wget https://wordpress.org/latest.tar.gz
tar -xzf latest.tar.gz
mv wordpress/* .
rm -rf wordpress latest.tar.gz
This puts WordPress in the correct web root directory.
🔧 Step 3: Set File Permissions
chown -R yourdomain:yourdomain /home/yourdomain/public_html
chmod -R 755 /home/yourdomain/public_html
Replace yourdomain with your actual system username from Virtualmin.
🔧 Step 4: Create the WordPress Database
- In Virtualmin, go to your virtual server
- Click Edit Databases
- Click Create a new database
- Give it a name like
wordpress - Note the database name, username, and password
🔧 Step 5: Configure wp-config.php
cd /home/yourdomain/public_html
cp wp-config-sample.php wp-config.php
nano wp-config.php
Update the DB details:
phpCopyEditdefine( 'DB_NAME', 'your_db_name' );
define( 'DB_USER', 'your_db_user' );
define( 'DB_PASSWORD', 'your_db_password' );
define( 'DB_HOST', 'localhost' );
Save and exit.
🔧 Step 6: Run the WordPress Installer
Visit your domain in a browser:
arduinoCopyEdithttp://yourdomain.com
You’ll be guided through:
- Site title
- Admin username/password
- Language selection
After submitting the form, WordPress will be installed!
⚙️ Optional: Enable HTTPS (SSL)
- In Virtualmin, go to Server Configuration > SSL Certificate
- Click Let’s Encrypt
- Request a certificate for your domain
- Once done, redirect HTTP to HTTPS by editing
.htaccessor enabling it via Virtualmin.
🛡️ Security Tip
- Always keep WordPress, plugins, and themes updated
- Use a plugin like Wordfence or iThemes Security
- Disable XML-RPC if not used
🚀 Need High Performance Servers?
Want faster load times, better uptime, and WordPress-specific optimizations?