Virtualmin is a popular open-source control panel used to manage multiple websites, domains, email accounts, and databases from a user-friendly interface. It’s built on top of Webmin and provides a cost-effective alternative to paid panels like cPanel and Plesk.
In this guide, you’ll learn how to install Virtualmin on your Linux VPS or dedicated server — the right way.
✅ Recommended System Requirements
Before installing Virtualmin, make sure your server meets these requirements.
🖥️ Recommended Operating Systems
| OS | Version |
|---|---|
| AlmaLinux | 8 or 9 |
| Rocky Linux | 8 or 9 |
| Ubuntu LTS | 20.04 or 22.04 |
| Debian | 10, 11, or 12 |
| CentOS 7 | Still supported, but outdated |
❌ Avoid using minimal or custom templates that remove essential packages like
perl,wget, orsudo.
💾 Minimum Hardware
| Resource | Minimum | Recommended |
|---|---|---|
| RAM | 1 GB | 2+ GB |
| CPU | 1 core | 2+ cores |
| Disk | 10 GB | 40+ GB SSD |
👉 Need a reliable Virtualmin-ready server?
Check out Servers9 high-performance VPS & dedicated servers
⚙️ Step-by-Step: Installing Virtualmin on Your Server
🛑 Important: Only install Virtualmin on a fresh OS. Avoid using a server with pre-installed web stacks like Apache, NGINX, MySQL, or PHP.
🔹 1. Connect to Your Server via SSH
ssh root@your-server-ip
🔹 2. Download the Virtualmin Installer
wget https://software.virtualmin.com/gpl/scripts/install.sh
chmod +x install.sh
🔹 3. Start the Installation
./install.sh
This will launch an interactive installer that will:
- Install Apache/Nginx, PHP, MySQL/MariaDB, Postfix, Dovecot, BIND, Webmin, and Virtualmin
- Set up the initial configuration automatically
🧠 Want unattended install? Use:
./install.sh --minimal
🔹 4. Access Virtualmin Web Interface
Once the install is complete, you’ll get a login URL:
arduinoCopyEdithttps://your-server-ip:10000
⚠️ Accept the browser’s SSL warning — a self-signed certificate is used by default.
Login using:
- Username:
root - Password: your server’s root password
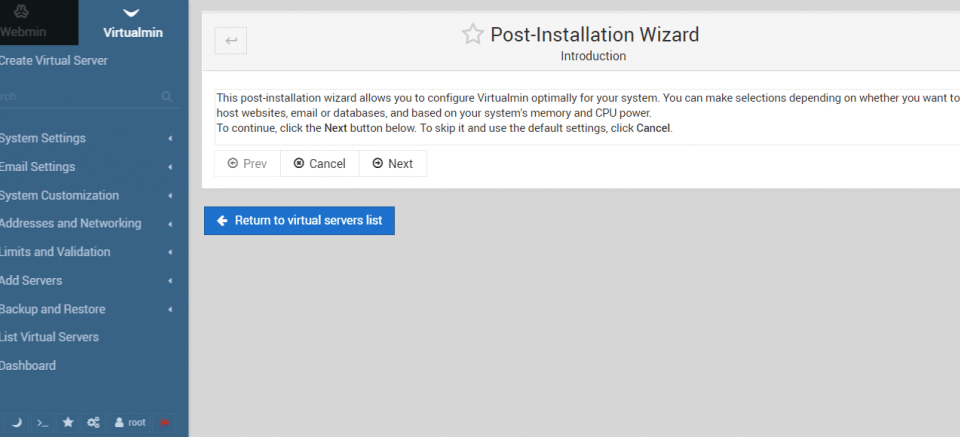
🧰 What’s Next After Login?
After login, Virtualmin will run a Post-Installation Wizard:
- Choose MySQL or MariaDB
- Select default PHP version
- Enable quotas, DNS, and email
Then, you can:
- Add your first Virtual Server (domain)
- Install WordPress or any PHP app
- Create databases, FTP accounts, and email users
🔐 Optional: Secure Your Panel
Open firewall port 10000 (if using firewalld):
firewall-cmd --permanent --add-port=10000/tcp
firewall-cmd --reload
Install a valid SSL certificate via Let’s Encrypt under:
Virtualmin > Server Configuration > SSL Certificate
🚀 Why Use Virtualmin?
- Free & Open Source (GPL)
- Stable and lightweight
- Built-in DNS, Mail, FTP, and database management
- Works with Ubuntu, AlmaLinux, and more
⚡ Need High Performance Servers?
Get the best performance for Virtualmin by running it on a fast VPS or dedicated server.