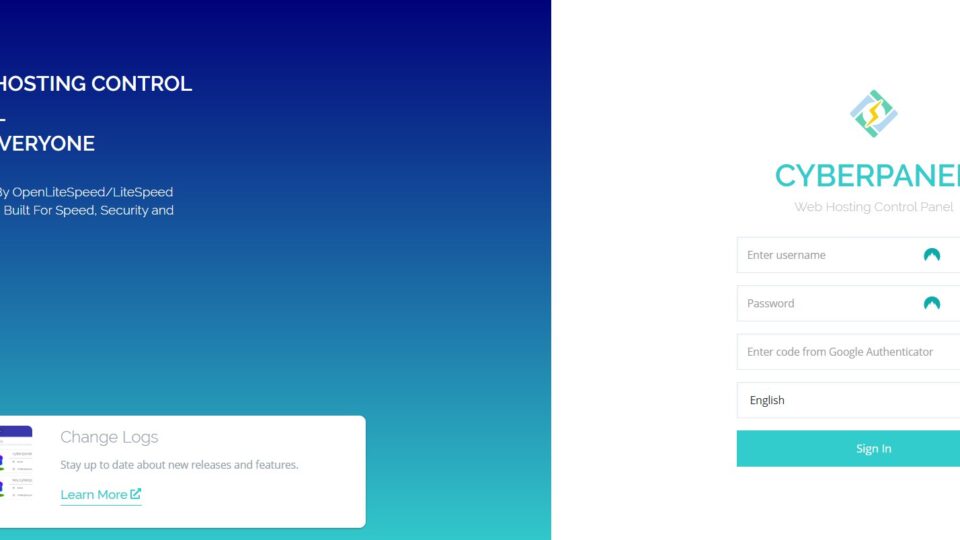
If you’re looking for a fast, secure, and modern hosting control panel, CyberPanel is one of the best free options available. Powered by OpenLiteSpeed (or LiteSpeed Enterprise), it’s designed for high performance, security, and easy management.
In this guide, we’ll show you how to install CyberPanel properly on your server, including the recommended OS, RAM requirements, and important tips for a successful installation.
🚀 Why Choose CyberPanel?
- Built on OpenLiteSpeed/LiteSpeed Web Server
- Free SSL certificate issuance
- Auto-install WordPress and LSCache
- DNS, Email, FTP, and database management included
- HTTP/3 and QUIC support
- Lightweight and super fast compared to cPanel
🧩 System Requirements for CyberPanel
Before you install, make sure your server meets these requirements:
| Requirement | Minimum | Recommended |
|---|---|---|
| Operating System | Ubuntu 18.04/20.04/22.04, AlmaLinux 8 or 9, CloudLinux 8 | AlmaLinux 8 or Ubuntu 22.04 |
| CPU | 1 Core | 2+ Cores |
| RAM | 1 GB | 2+ GB (for OpenLiteSpeed), 4+ GB (for LiteSpeed Enterprise) |
| Storage | 10 GB | 40+ GB SSD preferred |
⚡ Important:
For a smoother experience, use a clean server without any other control panels installed.
👉 If you need high-performance servers optimized for CyberPanel, you can check out Servers9 VPS and Dedicated Servers.
📋 How to Install CyberPanel (Step-by-Step)
✅ 1. Prepare Your Server
- Fresh installation of AlmaLinux 8 or Ubuntu 22.04.
- SSH access as root user.
Connect via SSH:
ssh root@your-server-ip
✅ 2. Update Your System
Update packages to avoid any conflicts:
For AlmaLinux / CentOS:
yum update -y
For Ubuntu:
apt update && apt upgrade -y
✅ 3. Install CyberPanel
Run the official installation script:
cd /usr/local/src
wget https://cyberpanel.net/install.sh
chmod +x install.sh
sh install.sh
✅ 4. Follow Installation Prompts
During installation, you will be asked:
- Install CyberPanel? → Yes
- Install Full Service (DNS, FTP, Email)? → Yes
- Install Memcached, Redis? → Optional, recommended Yes
- Set up Remote Database? → No (unless needed)
- Choose Web Server:
- OpenLiteSpeed (Free)
- LiteSpeed Enterprise (License required)
If unsure, start with OpenLiteSpeed (you can upgrade later if needed).
✅ 5. CyberPanel Admin Login
Once installed, you’ll get access details:
- Panel URL: arduinoCopyEdit
https://your-server-ip:8090 - Username: nginxCopyEdit
admin - Password:
(Generated or manually set during install)
Make sure port 8090 is allowed in your firewall settings!
⚙️ Post Installation Tips
- Change the default admin password immediately
- Install CSF Firewall for extra security
- Enable auto-backups through CyberPanel dashboard
- Secure your server with SSH key authentication
🚀 Need High-Performance VPS or Dedicated Servers for CyberPanel?
For the best CyberPanel experience, you need reliable, fast servers.
👉 Check out Servers9 high-performance VPS and Dedicated Servers
Optimized for CyberPanel hosting, SSD-powered, and with full root access!
CyberPanel is a game-changer if you want speed, security, and simplicity without paying high license fees like cPanel.
By following the above steps and starting with a clean, strong server, you’ll have a modern, optimized hosting environment ready in just minutes!
