Nameservers Setup: Pointing Your Domain to Your Hosting
When you register a domain, it doesn’t automatically connect to your website hosting. To make your domain show your website, you need to point it to your hosting server by updating the nameservers. This step is essential for making your website accessible online.
In this guide, we’ll show you how to correctly update your nameservers and point your domain to your Servers9 hosting account.
🌐 What Are Nameservers?
Nameservers are part of the Domain Name System (DNS) that direct traffic from your domain name to the correct web server. Think of them as address books that tell the internet where to find your website files.
For example:
ns1.servers9.com
ns2.servers9.com
These nameservers ensure that when someone types your domain name, they land on your website hosted at Servers9.
✅ Why Update Nameservers?
You need to update your domain’s nameservers if:
- You just purchased a hosting plan from Servers9
- You registered your domain with another provider (like GoDaddy, Namecheap)
- You want to change your hosting provider
🧭 How to Point Your Domain to Servers9 Hosting
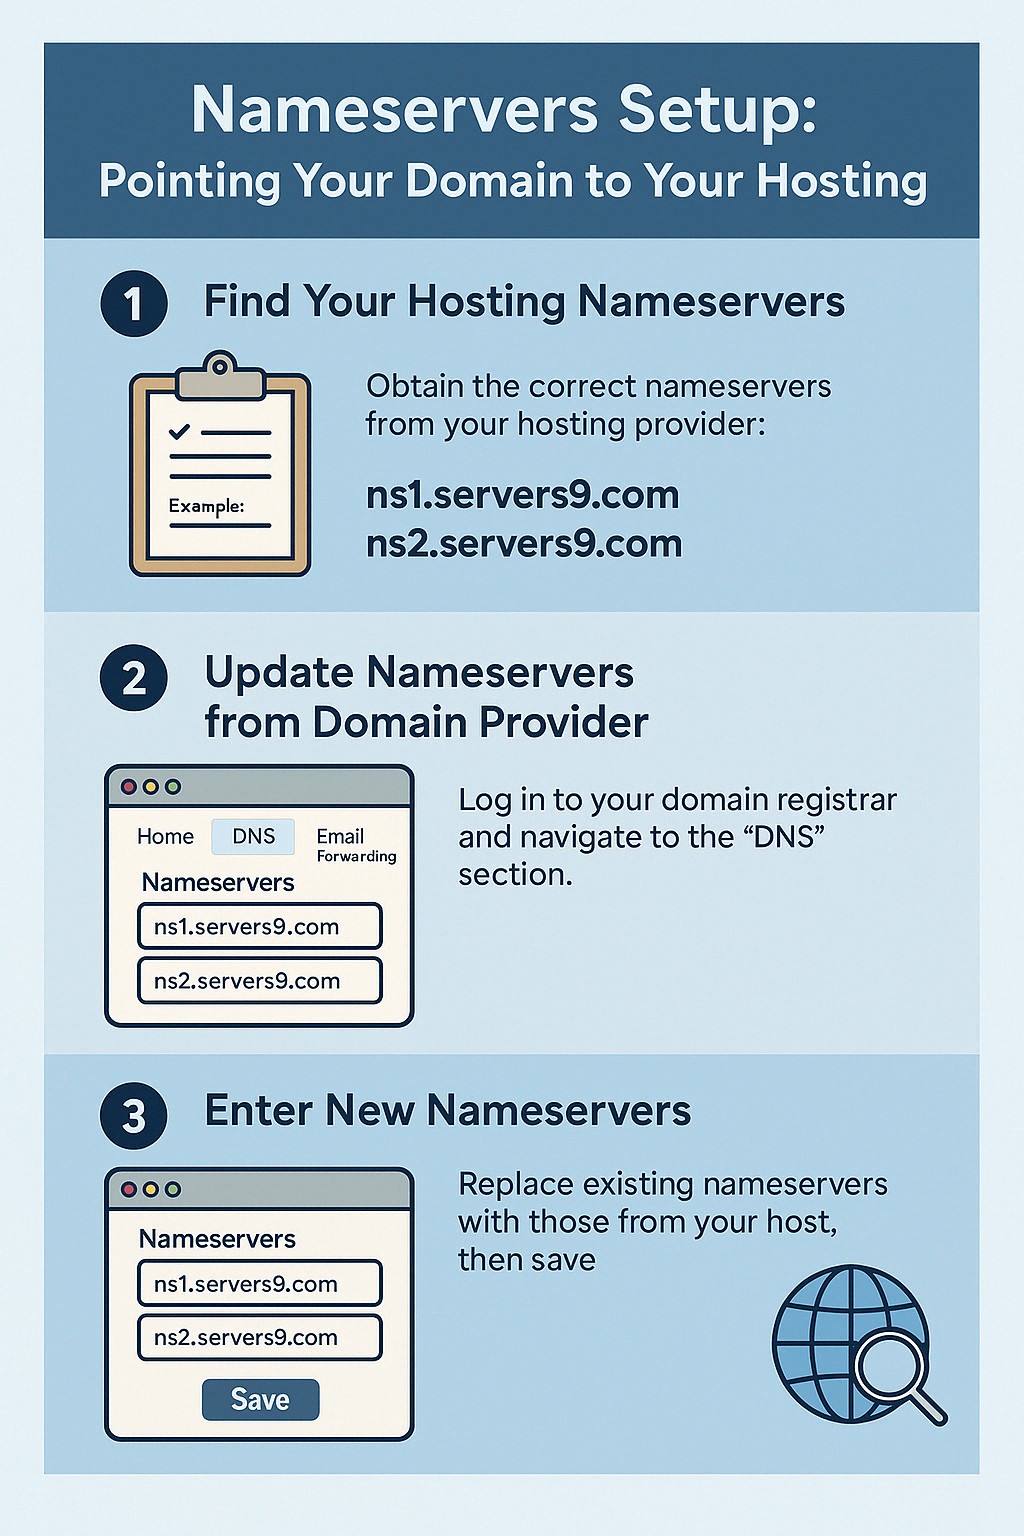
📍 Step 1: Find Your Hosting Nameservers
Once your hosting account is activated with Servers9, you’ll receive a Welcome Email containing your nameservers. You can also find them in your:
- Client Area – My Products
- Under the Service Details page of your hosting plan
Standard nameservers for Servers9 are typically:
ns1.servers9.com
ns2.servers9.com
🛠️ Step 2: Update Nameservers from Domain Provider
If your domain is registered with Servers9:
- Go to: here
- Select the domain you want to update
- Click on “Manage Domain”
- Go to the “Nameservers” section
- Choose “Use custom nameservers”
- Enter:
ns1.servers9.comns2.servers9.com
- Click “Save Changes”
💡 If your domain is with another provider (like GoDaddy, Namecheap, etc.), log into that provider’s dashboard and look for the “DNS” or “Nameservers” section, then follow similar steps to enter Servers9’s nameservers.
⏱️ Step 3: Wait for DNS Propagation
After updating nameservers, the changes can take up to 24–48 hours to fully propagate worldwide.
During this period:
- Your old site (if any) may still show temporarily
- Email may be affected if DNS isn’t configured properly
🔎 How to Check If Nameservers Are Updated
Use tools like:
Just enter your domain and select NS (nameservers) to verify propagation status globally.
⚠️ Important Tips
- Always back up your website and DNS records before making changes
- If using email services with another provider, update MX records after changing nameservers
- If unsure, contact Servers9 support before making changes
Setting up your domain’s nameservers is one of the first steps in launching your website. By correctly pointing your domain to Servers9’s hosting nameservers, you ensure that visitors are directed to your live website. The process is quick, and once propagation is complete, your domain will begin serving your site to the world.
📣 Need help updating nameservers?
👉 Submit a support request here